
Marble Inlay
Marble inlay, or parchin kari in Southeast Asia, is the technique of using cut and fitted pieces of precious stone to create an image. The technique was developed by the ancient Romans, and made its way to Asia by the 16th century, where it found its most extravagant expression in Mughal monuments such as the Taj Mahal.

Below, a gate of the Taj Mahal at sunrise; the light glints a little off of the highly reflective marble and mother-of-pearl.

Because the Taj Mahal is such a famous destination, the craft of marble inlay is still a bustling industry. There are shops all over India, although the best ones are in Agra, and the best of those are run by descendants of the original artisans who worked on the Taj Mahal. We were able to visit one of these workshops on our trip.
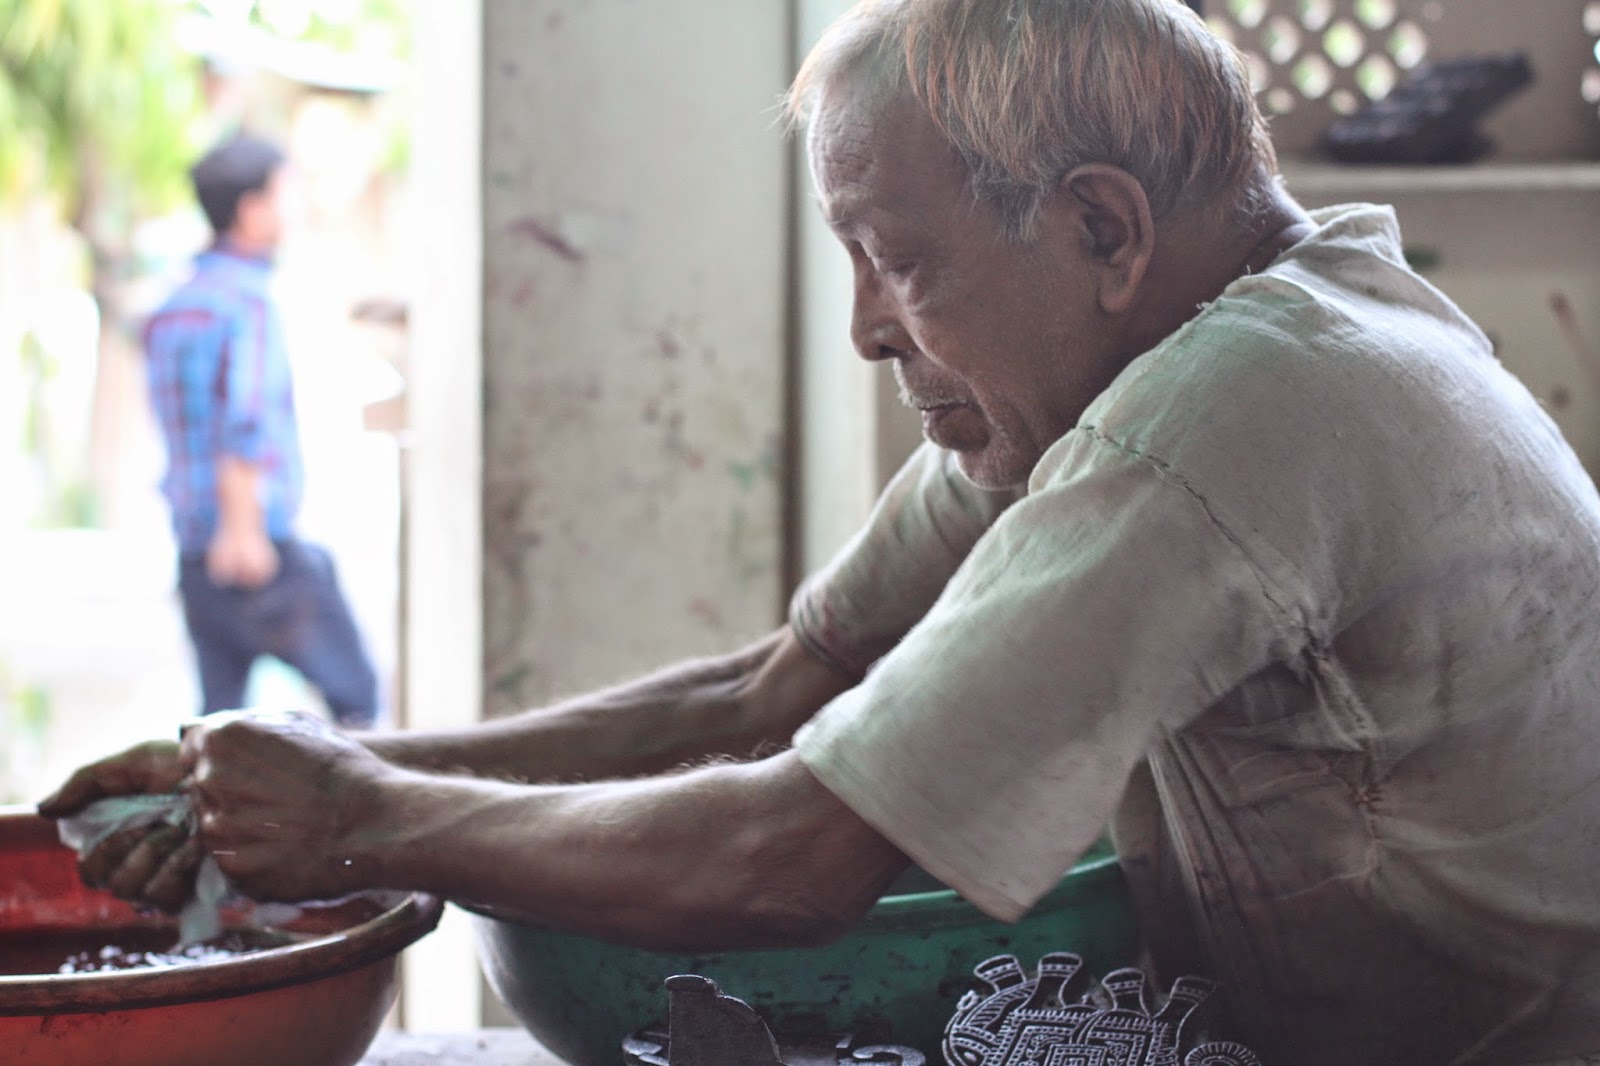
Below, the artisans are using hand-held, bow-driven grinders to shape tiny pieces of stone.


Samples of precious stone, including turquoise, agate, malachite, lapis lazuli, mother-of-pearl, and sandstone.

These are the tools used to carve out the marble substrate that the colored stones are laid into:

The colored pieces of stone are arranged on the marble to ensure a proper fit. The backs are grooved and keyed so they fit together and into the substrate snugly.

The finished designs are often elaborate and always wildly colorful. You can tell how skillful and precise the artisans are by how closely all the small, fine pieces fit together — there's hardly any cement or filler.


Contrast those professional examples with this small elephant I took home, probably done by a student. It's perfectly lovely, but you can see the shapes are a bit more crude — particularly the curved edges — and it has a fair amount of cement in spots where there are none above.

Miniature Painting
Miniature painting is another thing that you can find all over India, although it seems to be the most plentiful and of the best quality in the north, where the Persian influence was stronger. The City Palace in Jaipur had several vendors, all clamoring for our attention at once, so I sat down at the closest table that looked like it had a lot of wildlife paintings. It turned out to be someone from the Ramdev family, a clan of award-winning miniature painters.
Miniature painting in India is done by grinding solid pigments or minerals into a stone with water to produce a watercolor-like paint, which is applied to paper or cloth with an extremely fine brush using small strokes. Building up a painting this way takes forever and they're often very detailed. Here's one with a kingfisher, painted on old papers dating from the Raj:

Block printing
No trip to India is complete without seeing some block printing! This old technique of building patterns using wooden stamps and natural dyes is still used to decorate all kinds of cloth goods, from clothing to housewares.
Here's what the carved wooden blocks look like — they're basically used as stamps. The stamp in the foreground provides the outline for the elephant design, and the stamp in the background fills in the colors on the saddle.

The design is printed in layers with fabric dye. Most shops use a combination of synthetic and natural colors.

The elephant design with two of its three colors:

All colors printed. This printer was experienced enough to eyeball the placement of each layer without any kind of guide or grid.

And voilà!

An example of layered block-printed fabric below. Complicated designs can include stamping the fabric with a waxy resist instead of ink, then dyeing the whole piece and later washing off the resist to show an un-dyed portion, a little like batik techniques.

As a printmaker and artist who works with images of wildlife — usually on a small scale — I liked seeing all of these traditional arts still done by hand.
No comments:
Post a Comment